How To Replace A shower Faucet
It’s entirely reasonable that some plumbing sections started to get failure in its work after a walk through a long time. A shower faucet can be one of it between this plumber section failures. It’s not so difficult to replace or change an old shower faucet with a new one.
How To Replace A Shower Faucet
The shower faucet basically uses to control the temperature of the water flow. Single-handled units control the water temperature of the water flow. Dual handled groups control the hot and cold-water flow. Three handled units control the hot, cold, and mixed water flows that goes through the showerhead. When the shower faucet gets older than some issues are visible with that.
Here we are going to discuss some steps to replace a shower faucet easily. So, let’s get started.
Turn off the water flow and cover the floor:
First, we have to turn off the water supply of the shower. Most homes have shut off the facility for the complete house. Don’t just go for it. Only try to shut off the water flow of the toilet before start the work. If your home is in an exceedingly closed well, you will seek out a water pressure tank. New tanks are sometimes blue, and previous ones of any color.
The shut-off valve itself is found within the main outlet pipe close to the tank. To shut this valve on each source, flip right-handed till it closes. This can immediately stop the flow of water into the house. When you switch off the water, open the valves of the shower regulator to get rid of the remaining water from the pipes and confirm that the water is admittedly turned off.
Cover the bathtub or the shower floor with a canvas drop artifact. If you are going to be cutting through the tiles or wall, it is vital to dropping some object to guard the tub. Make sure the shower space is clean and dry, then use a painter’s drop artifact or alternative protecting covering on the shower floor and tub surface to guard it against scratches.
Remove all old elements:
Now you have to start removing with the handles first. Use a flat-headed screwdriver to open up all the caps of the handles. Underneath the lid is a screw to unharness the handles. Remove the holding screws then take away the handles by propulsion them off the valve stems. If the screws are rusted, it should take a bit of additional effort to loosen the screws. If necessary, use penetrating oil to assist break through the rust.
Now remove the spout also. To get rid of the recent spout, twist counterclockwise gently and pull towards you at a similar time. There could also be a tiny low screw that may need removal before you’ll be able to take it off. You will notice that pliers or an adjustable spanner are useful once removing recent fixtures. Use what tools work best for you.
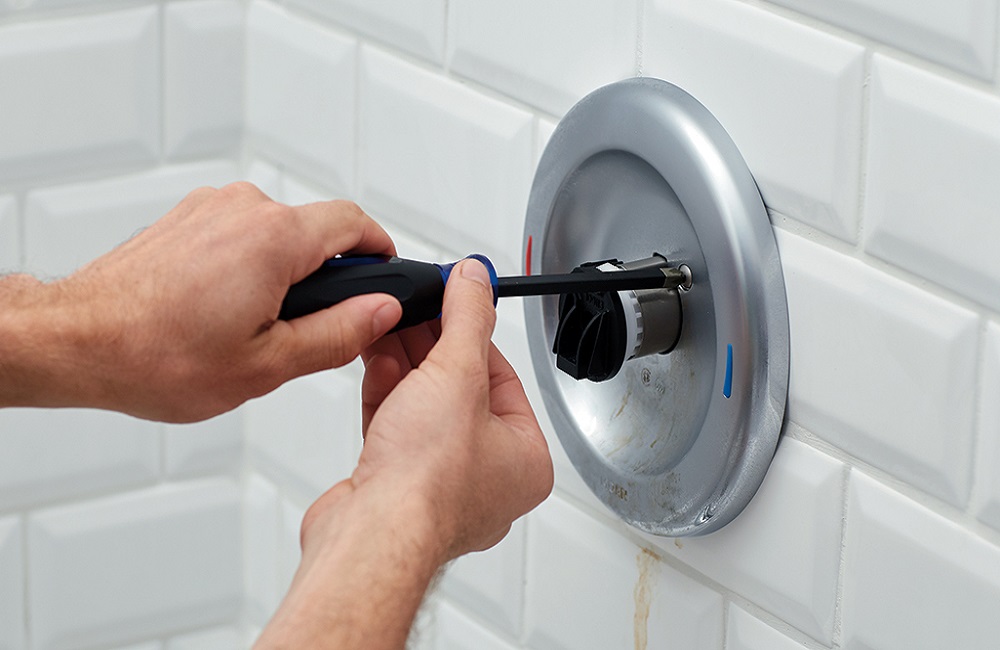
On some taps, the diverter handle can have an arrow on that. Use a flat head screwdriver or a table knife or one thing just like pry the cap from the stem to reveal the holding screw. Before removing the holding screw, you will need to open the valve fully by turning the handle counterclockwise. This keeps the pipe from turning whereas removing the screw.
Remove the rim and valve assemblies:
Now it’s the time to remove the rim. On most two-handle and three-handle taps, there are chrome flanges concerning 3 inches long. Firmly grasp the edge and take it away by turning it counterclockwise. there’s a white nylon rib sleeve that will not come back off as you take away the rim.
Single-handled taps have an oversized spherical plate that’s connected either with caulking or with screws. When removing the handle, take away the plate by removing the screws or by cutting the caulking with a utility knife. Then pull the dish from the wall.
Remove the valve assemblies. These valves have a hex-shaped base close to the wall, and you’ll be able to use a wrench or adjustable pliers to get rid of them. Flip them counterclockwise till they are available loose. Once removed, use a humid artifact or toothbrush to get rid of junk from the threads of the water recess pipes.
Replace the new shower faucet and turn on the water:
Open and check the valve assemblies before installation. Take all of the new valve assemblies and open them absolutely before putting in them. Try this by turning the stems counterclockwise. Every valve must be opened once it’s put in to permit it to seat absolutely on the pipe parts. Make sure to spot the diverter valve and set it aside to put in it last.
Tape the new valves. Take the role of plumber’s tape and peel the tip back a handful of inches. With the original lid in one hand, hold the rib base inform to your alternative side. Place the unfinished business of the plumber’s tape over the threads and secure it together with your thumb, then wrap tightly around the threads dextrorotatory for 3 complete wraps. Pull tightly against the threads till the tape breaks. Roll the unfinished business over the tapped threads. The tape can contour to the threads.
Place the new valve. Place the new lid into the pipe and switch dextrorotatory together with your fingers concerning three or four complete turns. There ought to be some resistance at the moment as a result of the plumber’s tape.
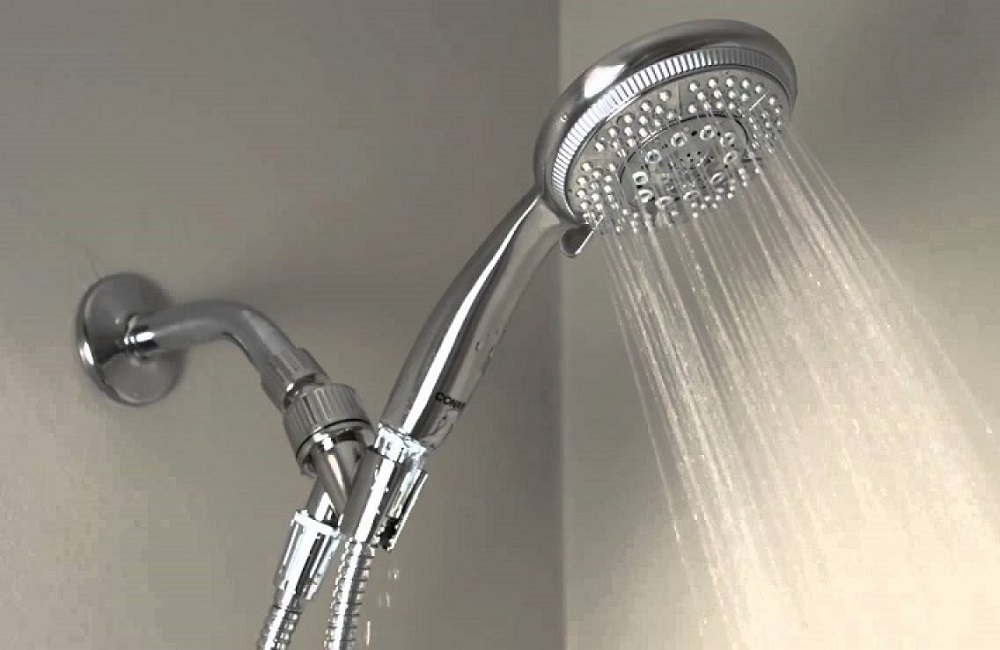
That’s all, the work is done, and now you are good to go with your new shower faucet.
Conclusion:
After turning on the water supply, don’t forget to check for leaks. Activate your all facility and certify everything works appropriately or not. Don’t be shocked by some initial sputtering of the water after you review your shower faucet.
Hopefully, these steps we discussed above are the easiest way to replace a shower faucet. Thanks to all.
Refreshment is so important for every human being. Having a good shower experience is one of the best refreshments for Read more
To maintain hygiene, we generally try to remain clean. This cleaning procedure includes cleaning our dress, things, rooms, kitchens, toilets, Read more
The cleaning shower drain is not as difficult as you think. It is a very natural thing for the shower Read more